
Introduction
The aim of this article is to provide an overview of how to build a PostgreSQL Server, create a test database and populate it with sample data using a SQL dump file. This can come in really handy if you performing Proof of concepts e.g. AI data engineering or data obfuscation etc or if you just fancy getting to know how PostgreSQL works!
Assumptions
- An Azure Entra user account with Contributor role
Create the PostgreSQL Server
- Log onto the Azure Portal
- Type PostgreSQL in the search bar and select Azure Database for PostgreSQL Flexible servers
- Click Create
- Basics
- Subcription: Select you subscription
- Resource Group: Select you Resource group or create a new one
- Server name: enter a name for the server
- Region: Select a region
- PostgreSQL Version: Select the latest version
- Workload Type: Development (as its for test purposes)
- Authentication method: PostgreSQL and Microsoft Entra authentication
- Microsoft Entra Administrator: Click Set Admin then find and select your own user account
- Administrator Login: Set a Username for the Postgress administrator login account
- Password/Confirm Password: Set a password – note it down somewhere for later use
- Review and Create
- Click Create
Download a sample datadump.sql file and upload it to the Azure Cloud Shell
Browse to https://github.com/neondatabase-labs/postgres-sample-dbs and download the titanic.sql file (you can download any of the others if you prefer)
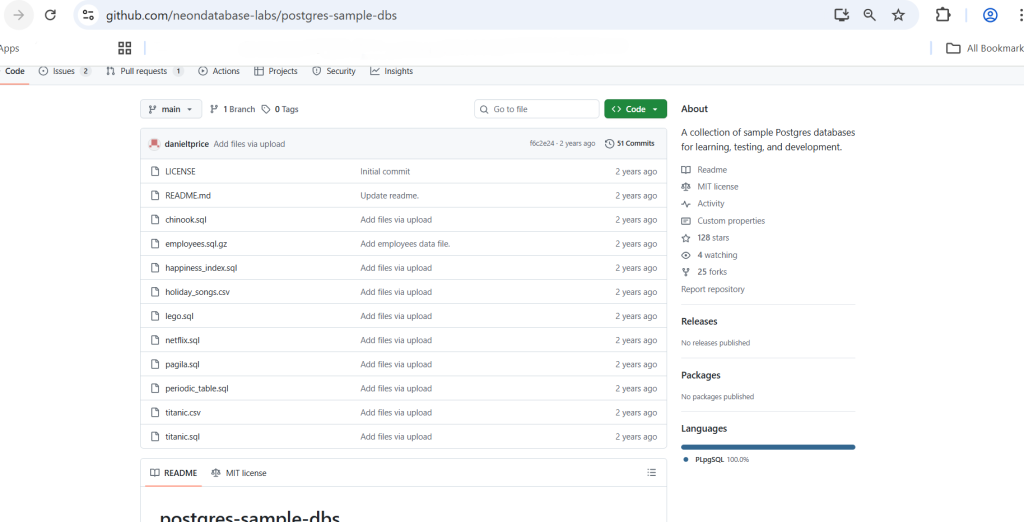
Fig 1: the Github.com download page
In the Azure Portal browse to your newly created PostgreSQL server and Open the cloud shell
Click on Manage Files > Upload. Select the titanic.sql file and upload to the cloud shell
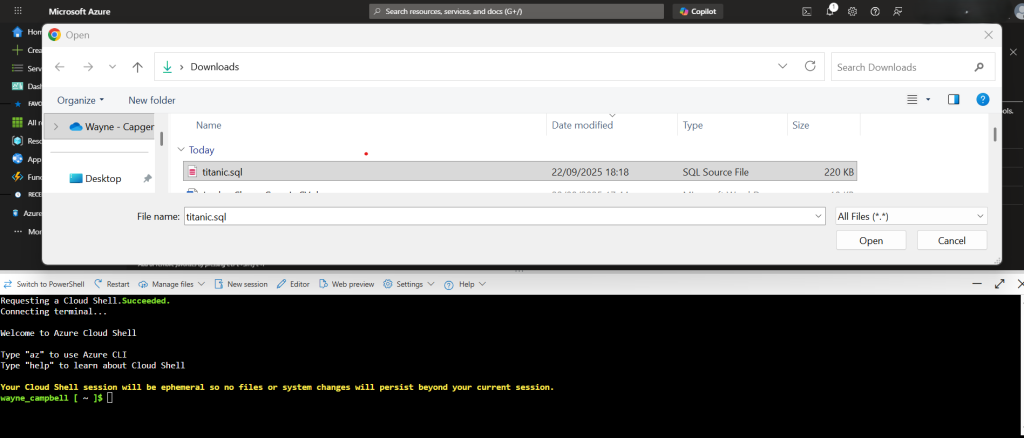
Fig 2: The titanic.sql file upload to Azure Cloud Shell
Create and populate the sample database in the Azure cloudshell
Open the Azure Cloud Shell in BASH and paste the below command to connect to the preexisting maintenance database postgres. When prompted input the postgreSQL password you created during set up
psql -h pg-postgress-test-server.postgres.database.azure.com -p 5432 -U PGTestUserAccount postgresNow type in the below command to create the test database;
CREATE DATABASE titanic;Once the database is created type Exit
To confirm the sample database has been created, click on the Databases blade and it should be visible in the database list
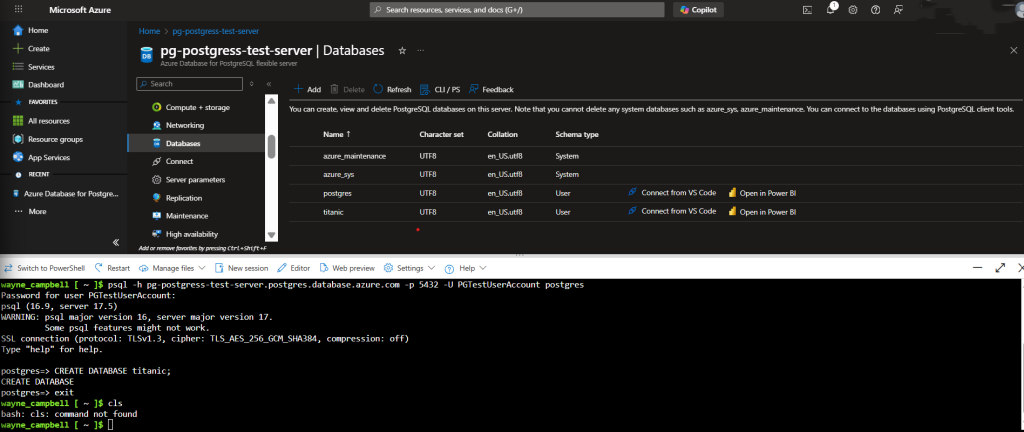
Fig 3: Confirmation the titanic database has been created
Now we need to populate the sample database with some sample data.
In the cloud shell paste the below command – enter the password when prompted;
psql -h pg-postgress-test-server.postgres.database.azure.com -U PGTestUserAccount -d titanic -f titanic.sqlThe above command should populate the database with a table called passenger and insert multiple rows of data (1000+ rows).
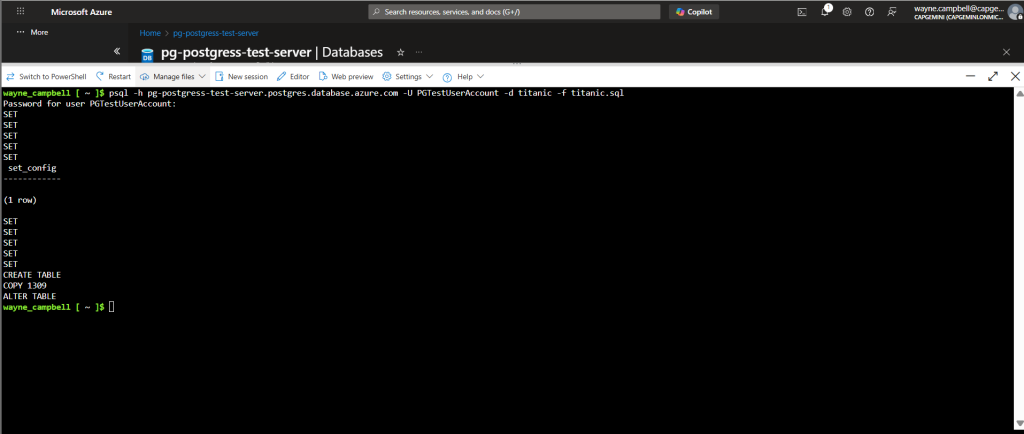
Fig 4: Output from the PSQL script that creates the passenger table and populates it with data
You can now connect to your sample database using the below command in the cloud shell – enter the password when prompted;
psql -h pg-postgress-test-server.postgres.database.azure.com -p 5432 -U PGTestUserAccount titanicNow you can run SQL queries against your sample database such as the below command to check how many tables have been created in the database;
\dt;or standard select queries such as;
SELECT * FROM passenger;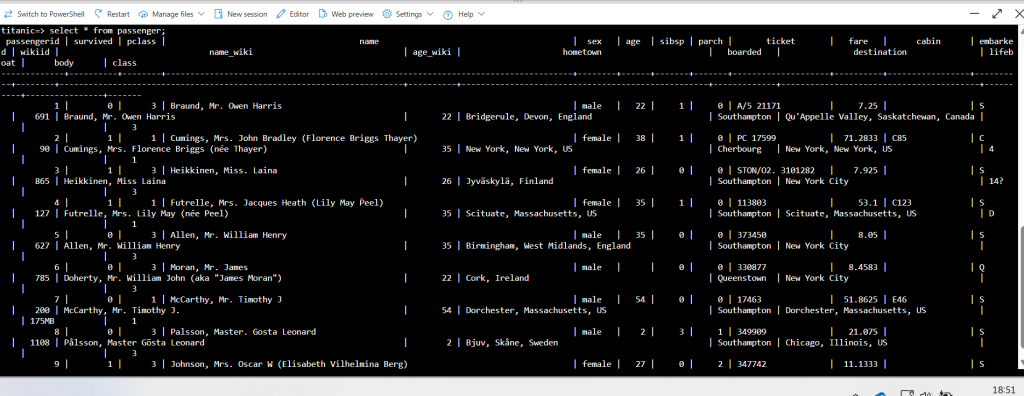
Fig 5: Output from the SELECT query.
Summary
We have been through the process of creating an instance of Azure PostgreSQL Flexible server
We went through how to download a sample .sql dump file and upload it to Azure using the Azure cloud shell.
We also went through how to create a database using SQL commands, populate the database with sample data using PSQL commands and query the data using SQL commands.
Now we have a fully feldged sample database up and running for further experimentation that can be easily destroyed and rebuilt if required.
Thanks for reading and happy building!
Leave a Reply